
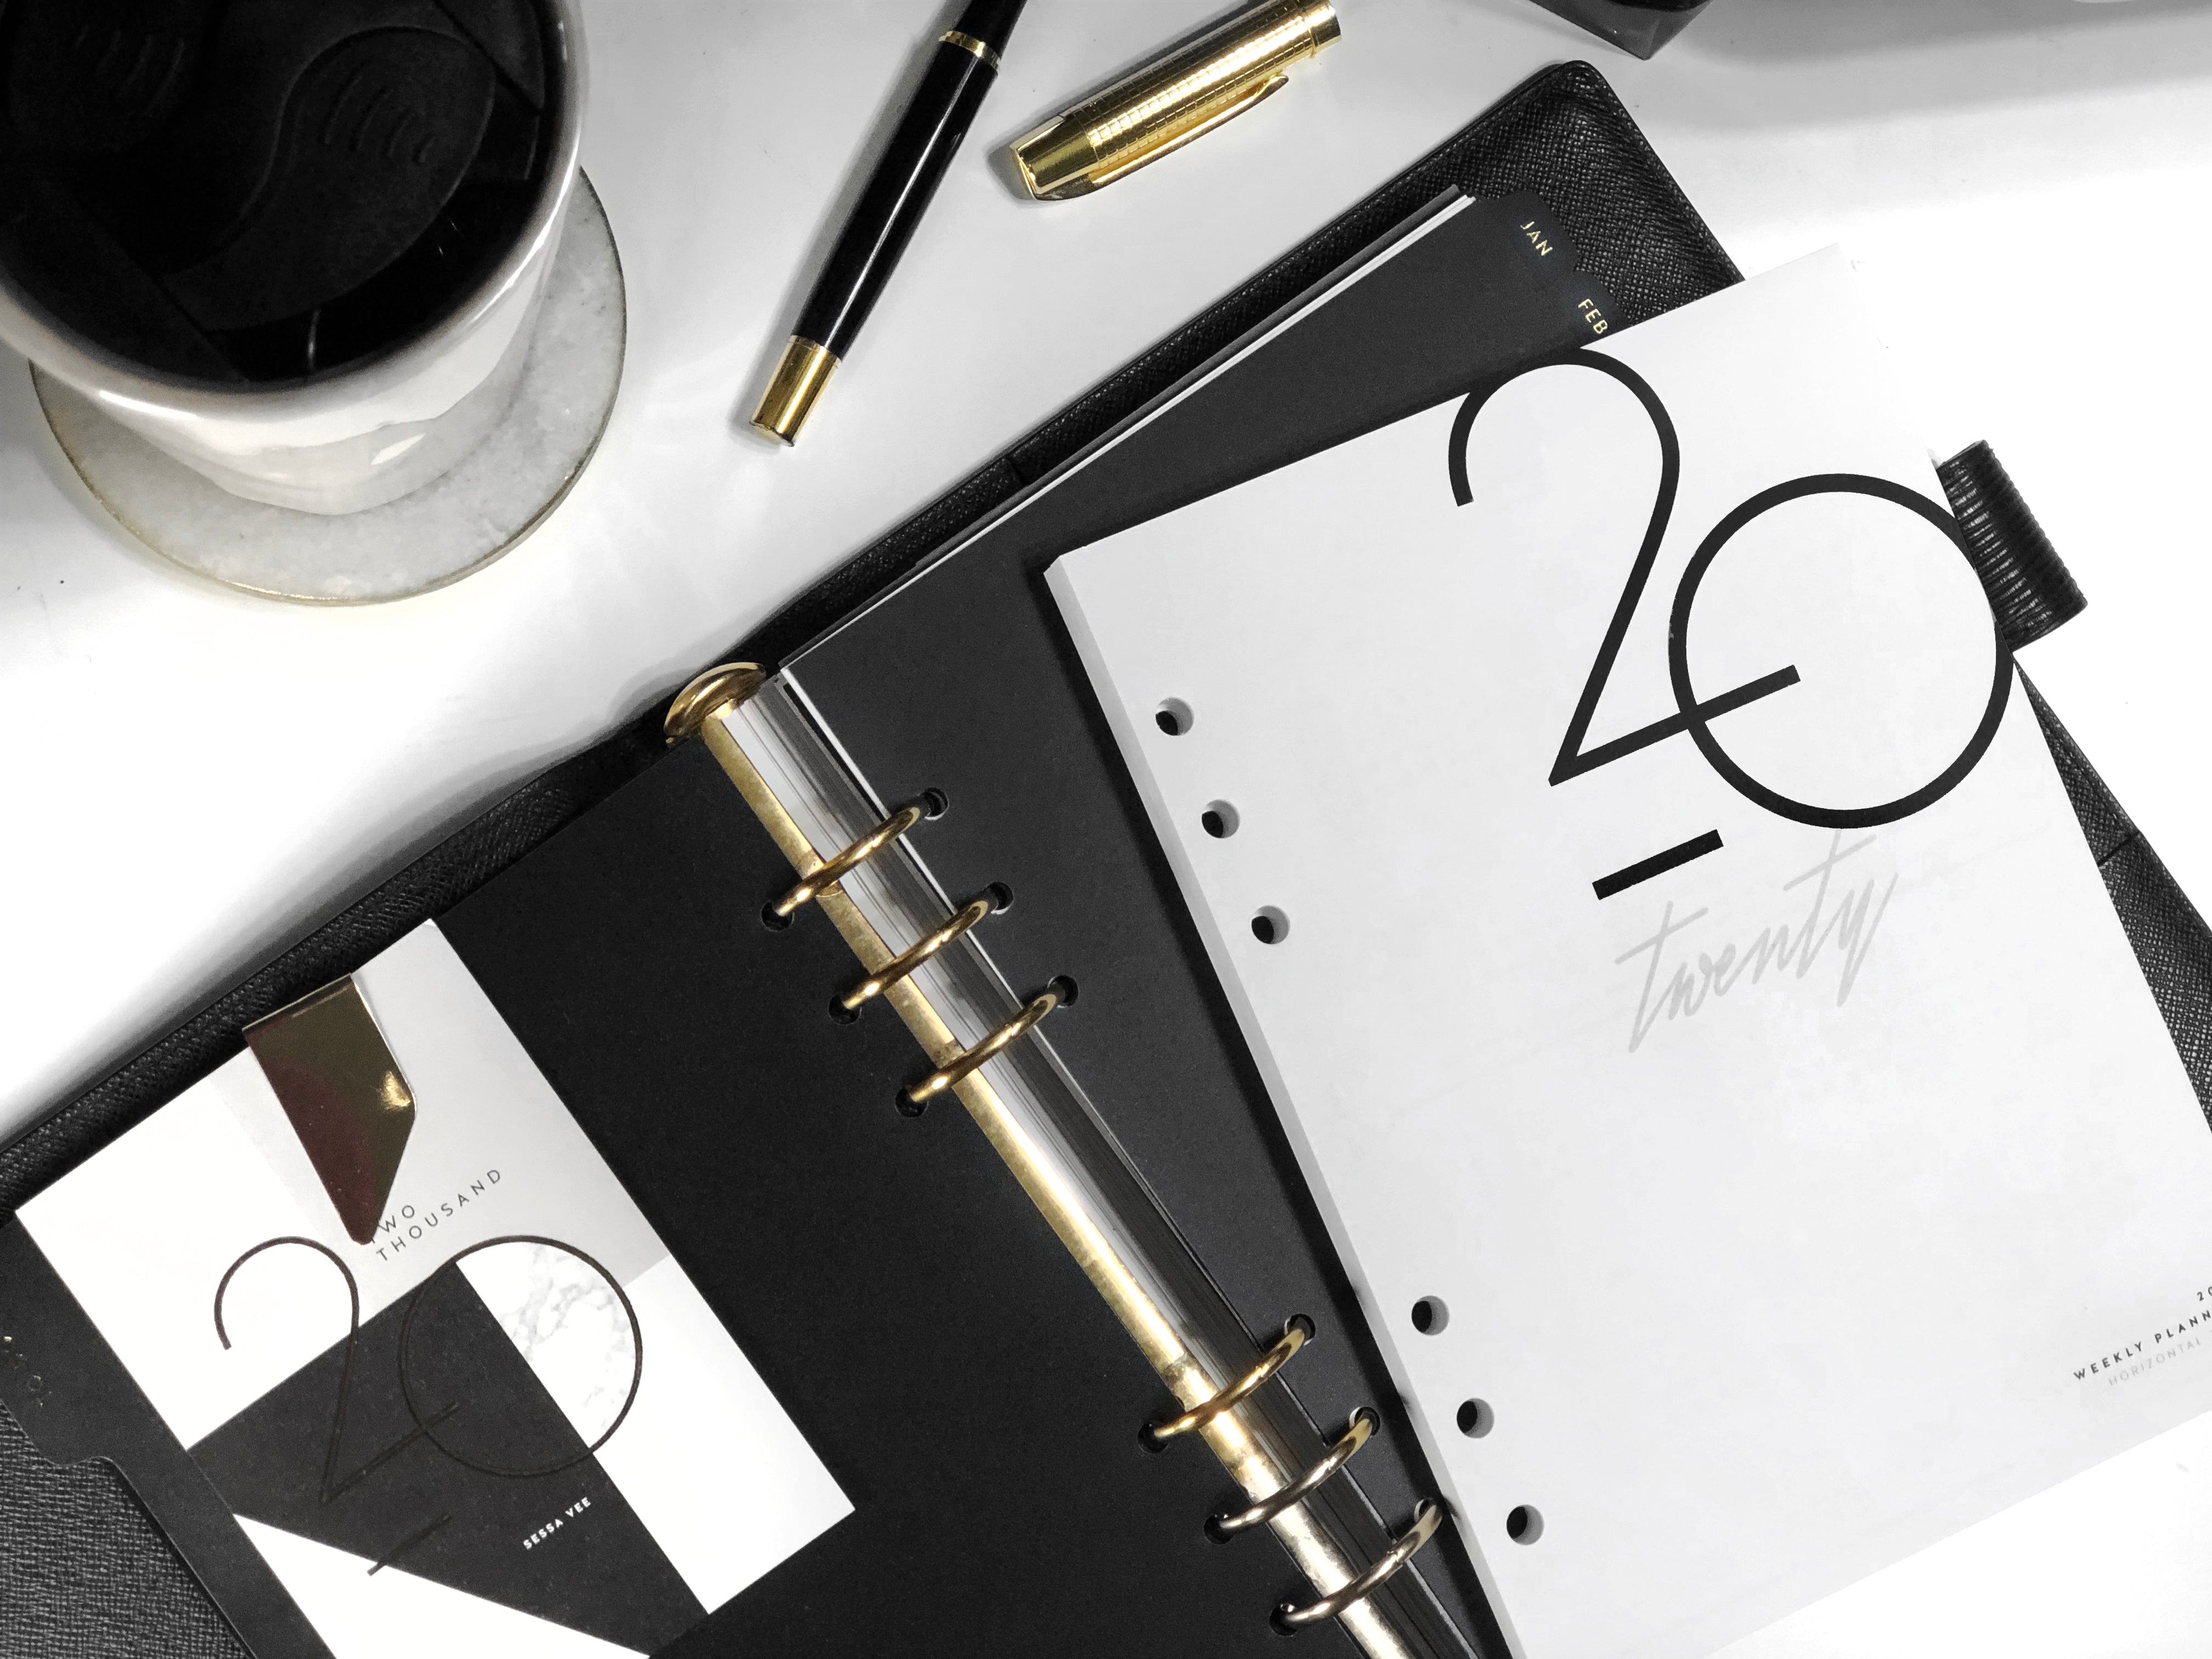
Printables
At this time, all Sessa Vee printables are purchased through the Etsy shop at sessavee.etsy.com
Must Know's
- Requires Adobe Acrobat Reader | Download here
- General understanding of how to use your printer
- Printable purchases are non-refundable, non-exchangeable due to their digital nature. If you have an issue with a file please contact me.
- Files and designs are for one end user's personal (non-promotional, non-commercial) use only. It is unlawful to use, edit, share, or distribute these designs for any other purpose.
Essential Instructions
- Open using Adobe Acrobat Reader | Download here
- Use the “Auto” Orientation setting - Centers the design vertically and horizontally on any chosen paper size, regardless of the size of the design and/or marks used
- Set Sizing to “Actual Size” - Ensures the final insert is at 100% scale - not shrunken or stretched.
File Types
How to Open a Zip File on Any Device by HelloTech
Once you have opened the zip file included in your purchase, you should see the following PDF files:

Older files and purchases had different file options.
Borderless - Use with pre-cut paper, or import into your digital planner apps.
Pre-cutting your paper to size, and setting a custom page size in your printer settings is a very efficient way to print inserts.
Singles - Have both type 1 or type 2 crop mark options.
Like borderless these files, these print one insert at a time.
Spreads - Print 2 pages per sheet
Always start on an odd page of your bundled/dated PDF to being your print. Bundled files are set up in a way where insert sides 1 and 4 show together, and then 2 and 3 will show together. This means the first two PDF pages must match up to print correctly. The following 2 pages will match up, and so on.

Back-to-Back Printing
How To Print Back to Back by Techwalla
If you are using a duplex printer that automatically prints both front and back for you:
- Long Edge Binding or “Flip on Long Edge” settings are used when printing full borderless or singles files.
- Short Edge Binding or “Flip on Short Edge” settings are used when printing full 2 per page spreads.
Computer and printer settings may look a bit different from each other - but the setting should be labeled as something very similar and may be under a section such as “Layout” “Paper Handling” or “Two Sided Printing”. You may have to click into an advanced printer menu/button to see these options.
Using Pre-Cut Paper
How to Print with Smaller Size Paper by Techwalla
After cutting your paper to the size needed, you will have to match your printer's page size settings to your paper's dimensions.
On a Mac computer, click the “Page Setup” button on the initial pop-up dialog box to see where the paper size is selected. Click “Manage Custom Sizes” to add a new page size with the dimensions of your paper. Printer and computer settings may vary. Not all printers can handle all custom sizes.
Single Type 1 and borderless files can be printed onto pre-cut paper.
Other Printer Settings
How to Make the Output Darker on a PDF Print by TechWalla
Every printer, in combination with the computer or operating system it runs on may show their print settings differently or using different labels. Explore and test your print settings to prior to printing your final prints.
Some settings worth exploring:
- Ink density
- Print Quality
- Intensity
- Contrast
You can affect the clarity or darkness of your prints by adjusting different controls in sections similar to
- “Quality & Media”
- “Color Options”
Paper type can affect this as well - coated or smooth papers may show darker prints, while uncoated papers often appear lighter. Coated papers, however, do not dry as quickly.